[attachment id=”22588″ position=”before”]
标致408空调滤芯怎么换?标致408更换空调滤芯流程(图文+视频)!

标致408空调滤芯位置
[attachment id=”22589″ position=”before”]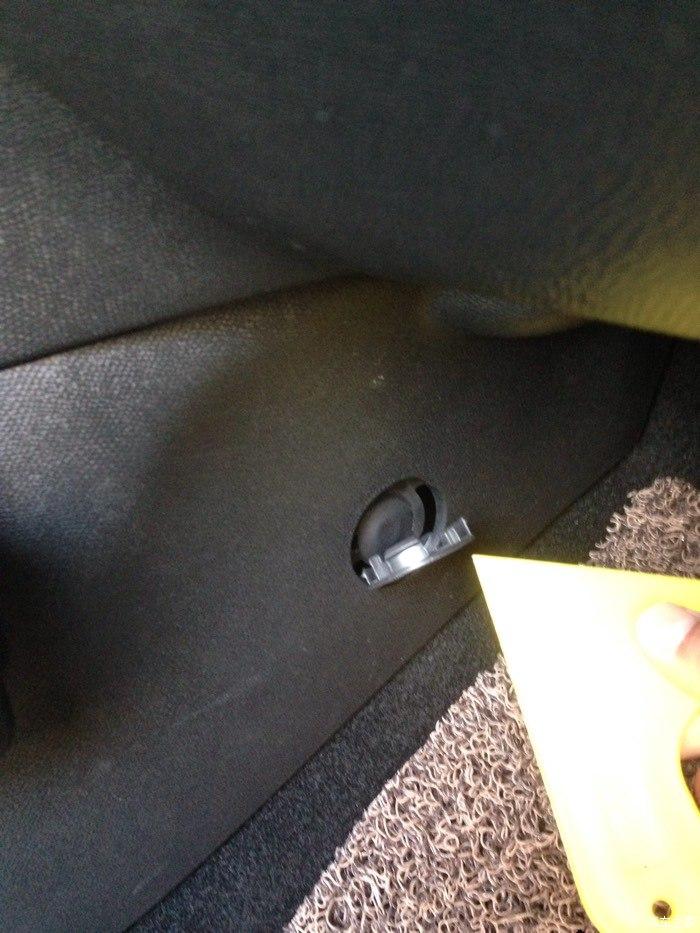
标致408空调滤芯怎么换?标致408更换空调滤芯流程(图文+视频)!

首先把扣除
[attachment id=”22590″ position=”before”]
标致408空调滤芯怎么换?标致408更换空调滤芯流程(图文+视频)!

还有一扣,继续拆除。
[attachment id=”22591″ position=”before”]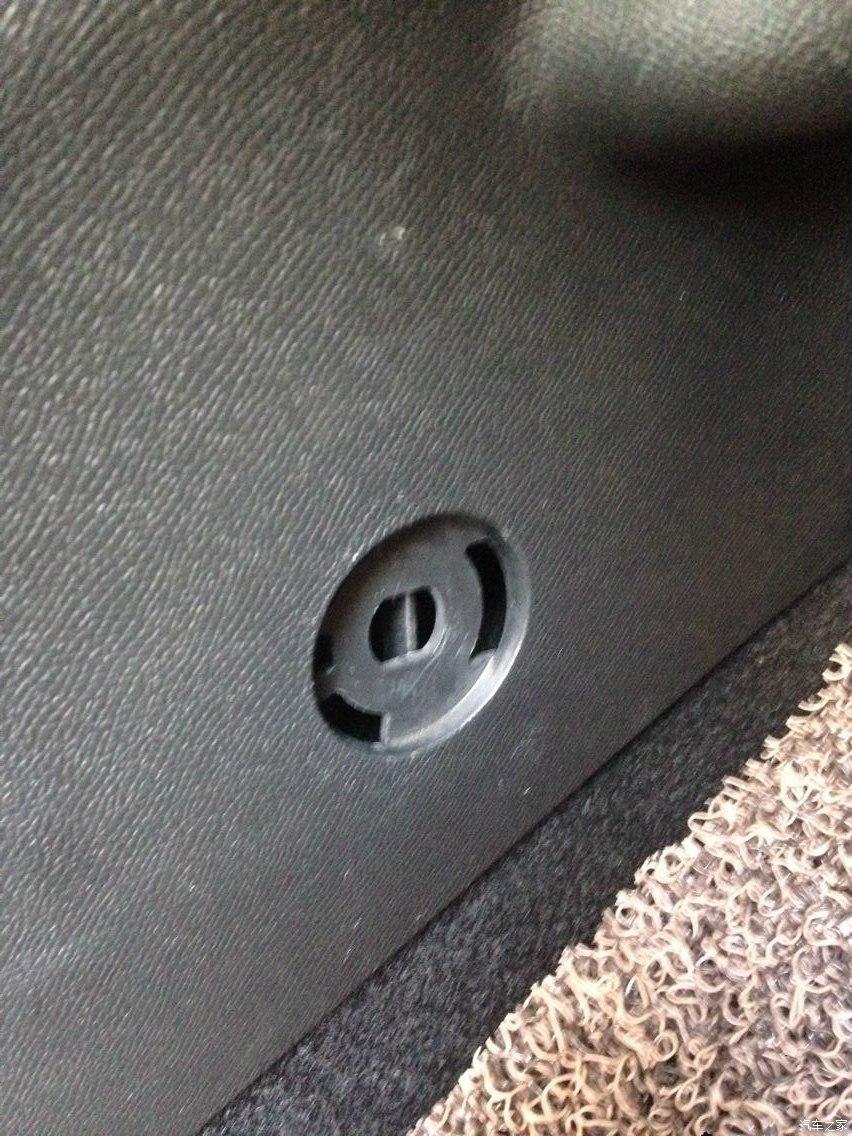
标致408空调滤芯怎么换?标致408更换空调滤芯流程(图文+视频)!

[attachment id=”22592″ position=”before”]
标致408空调滤芯怎么换?标致408更换空调滤芯流程(图文+视频)!

[attachment id=”22593″ position=”before”]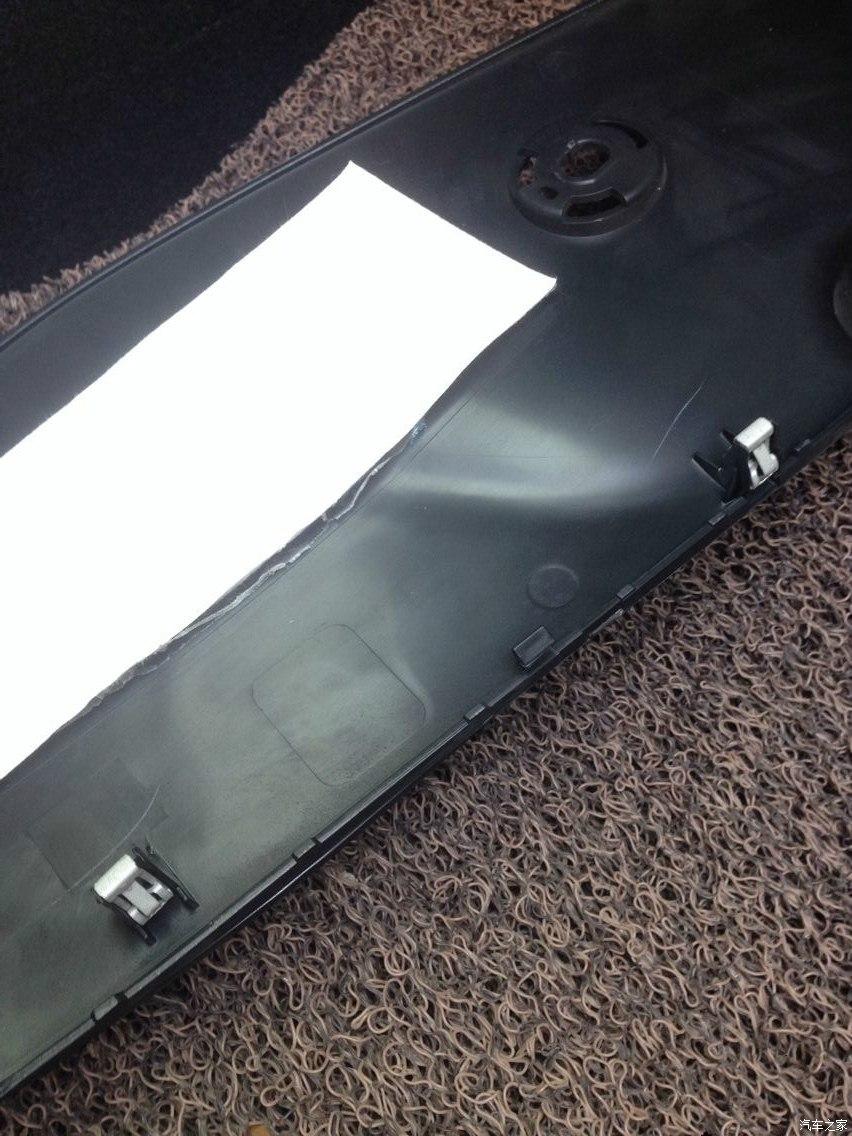
标致408空调滤芯怎么换?标致408更换空调滤芯流程(图文+视频)!

标致408空调滤芯第一层拆掉的盖板
[attachment id=”22594″ position=”before”]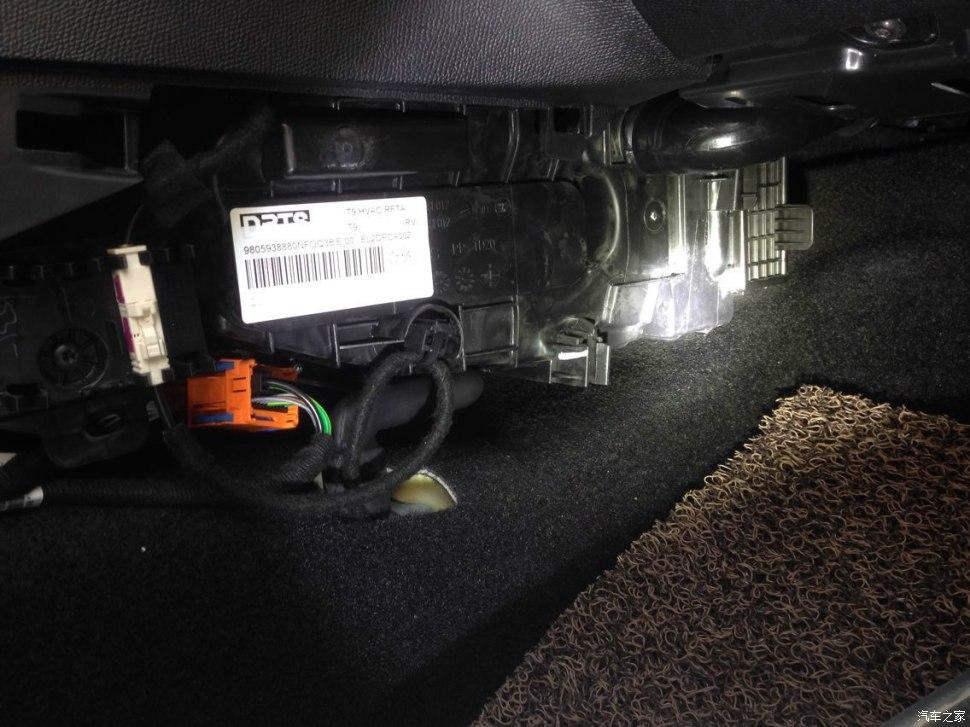
标致408空调滤芯怎么换?标致408更换空调滤芯流程(图文+视频)!

全景
[attachment id=”22595″ position=”before”]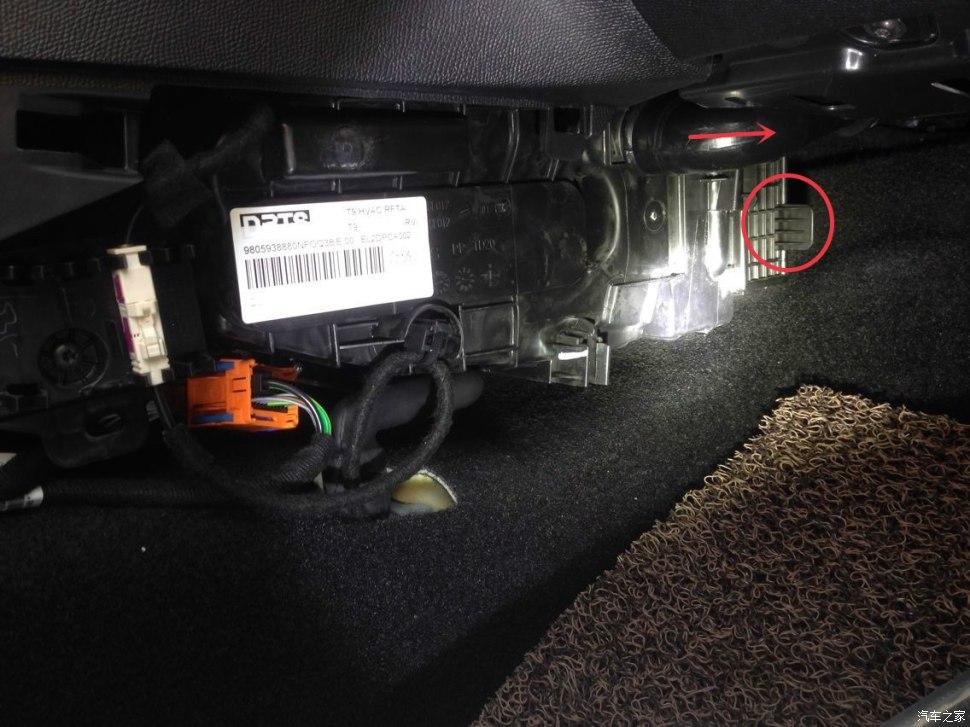
标致408空调滤芯怎么换?标致408更换空调滤芯流程(图文+视频)!

箭头为储物箱空调管,圆圈处为标致408空调滤芯。
[attachment id=”22596″ position=”before”]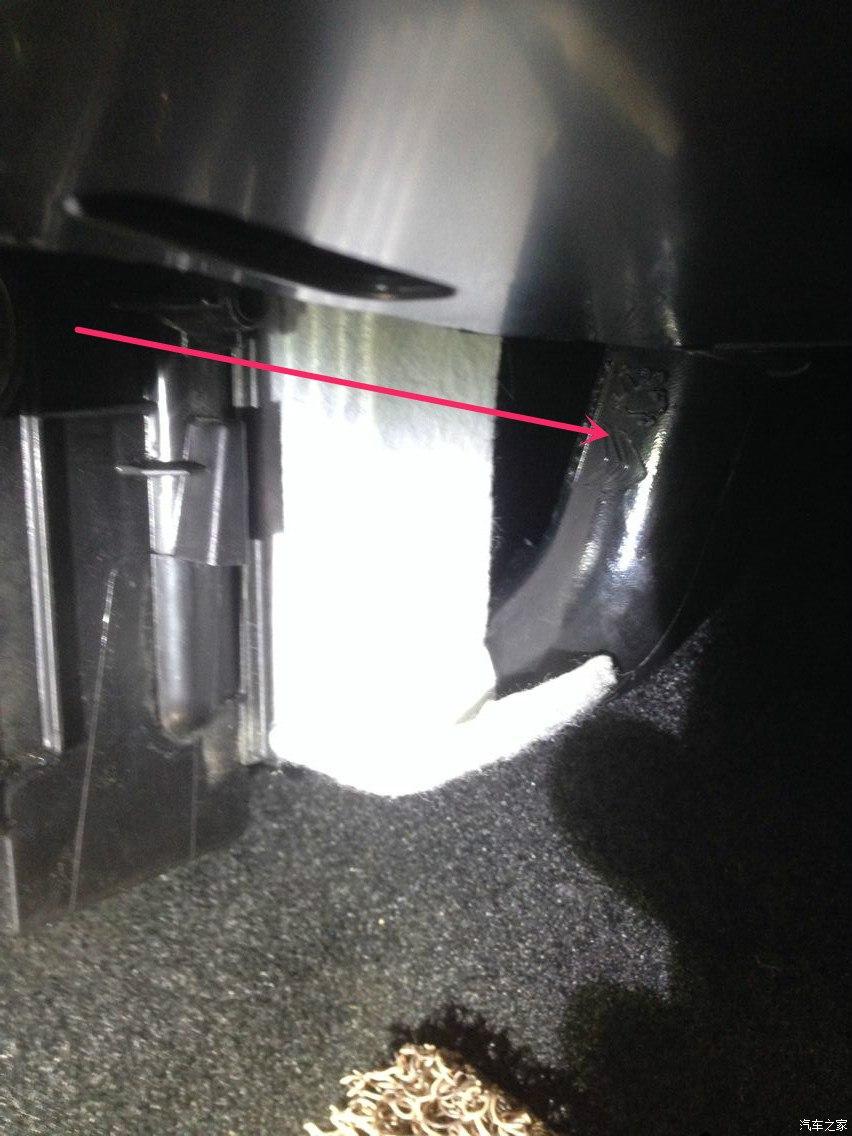
标致408空调滤芯怎么换?标致408更换空调滤芯流程(图文+视频)!

直接拔掉向前推到滤芯前面
[attachment id=”22597″ position=”before”]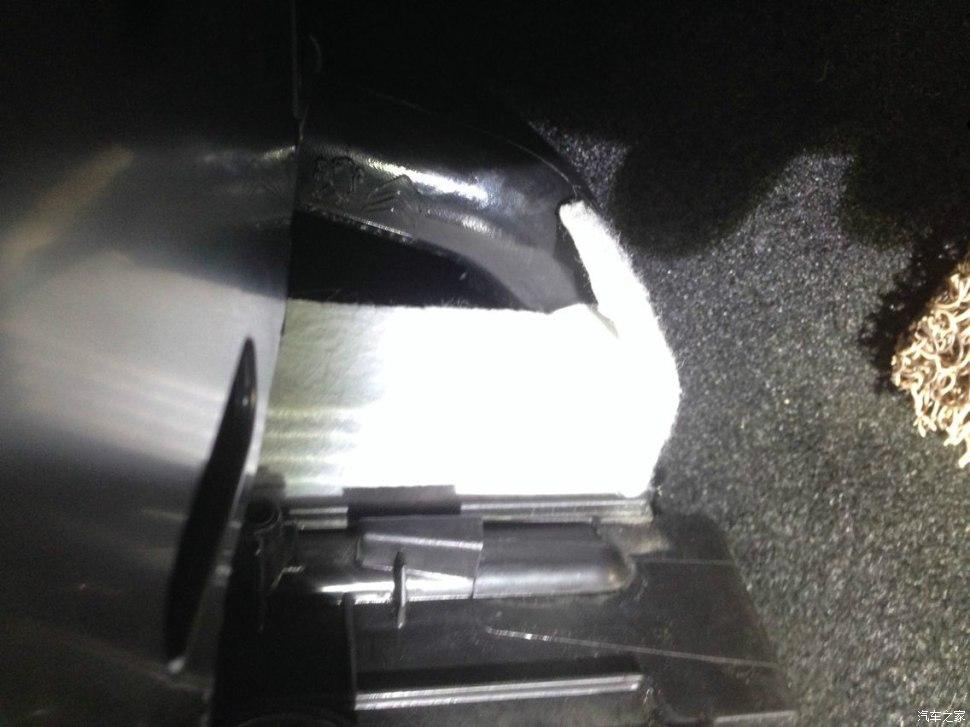
标致408空调滤芯怎么换?标致408更换空调滤芯流程(图文+视频)!

[attachment id=”22598″ position=”before”]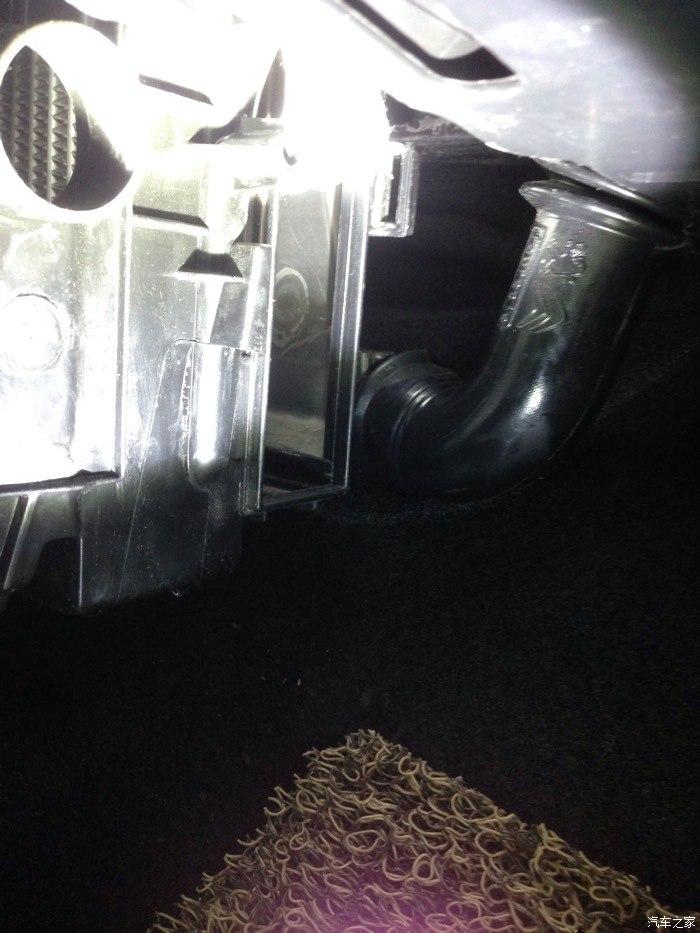
标致408空调滤芯怎么换?标致408更换空调滤芯流程(图文+视频)!

这张图已将储物箱空调管拆掉、滤芯已取下。
[attachment id=”22599″ position=”before”]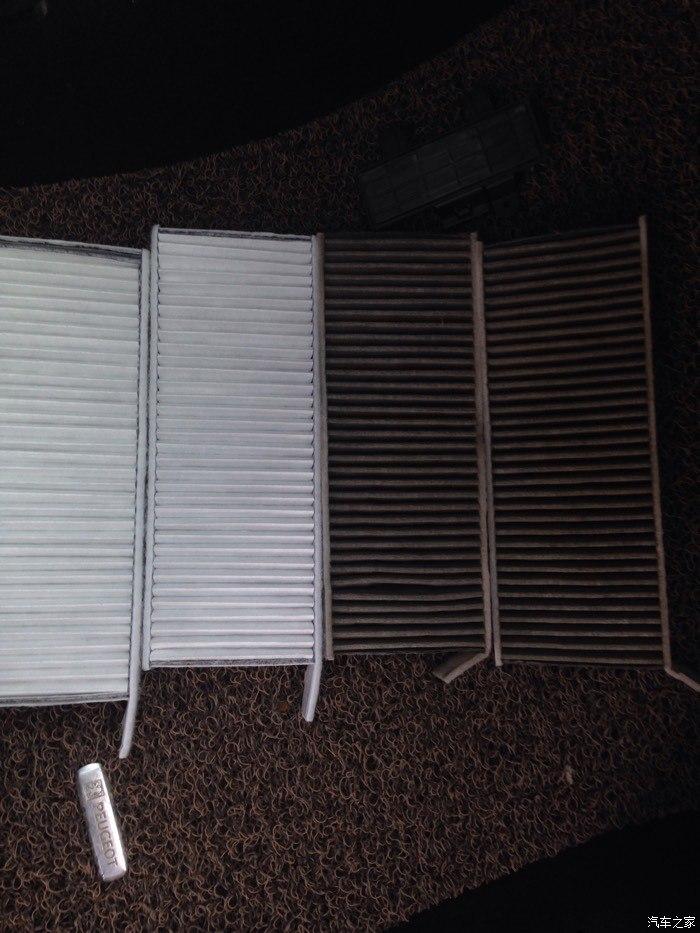
标致408空调滤芯怎么换?标致408更换空调滤芯流程(图文+视频)!

左图为新汽车空调滤芯,已加PM2.5滤纸,其实不用,最后还是取下来了,右图为原装滤芯(1.6万公里,滤芯很脏)。
[attachment id=”22600″ position=”before”]
标致408空调滤芯怎么换?标致408更换空调滤芯流程(图文+视频)!

空调滤芯盖板,下时注意力度,别太用力,整坏了可不好配(塑料硬、脆)。
[attachment id=”22601″ position=”before”]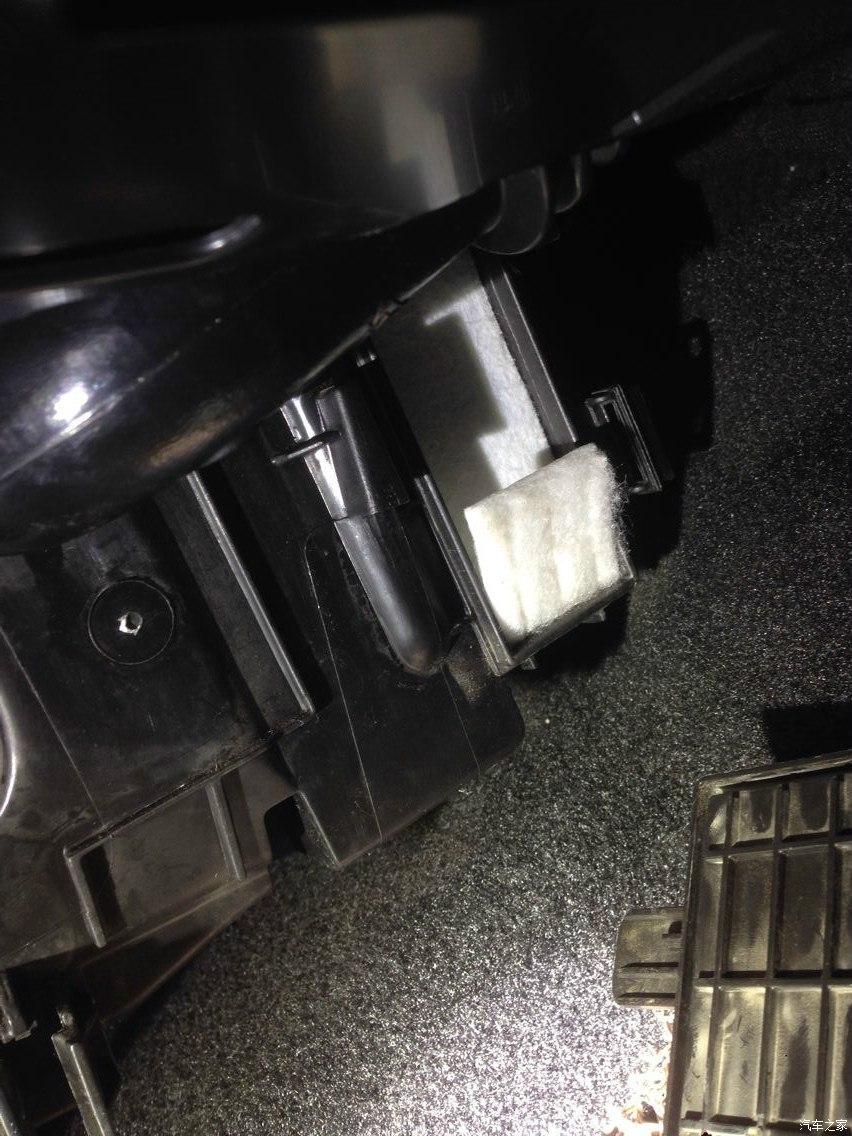
标致408空调滤芯怎么换?标致408更换空调滤芯流程(图文+视频)!

装好第一块滤芯的图没了,这张来代替,注意汽车空调滤芯的方向别整错方向了(滤芯上有箭头标识),首先将第一块滤芯塞进去,然后手向上托第一块滤芯,一直托到顶,到顶后就看不到第一块滤芯了,此时第二块空调滤芯在塞进去就好了。
[attachment id=”22602″ position=”before”]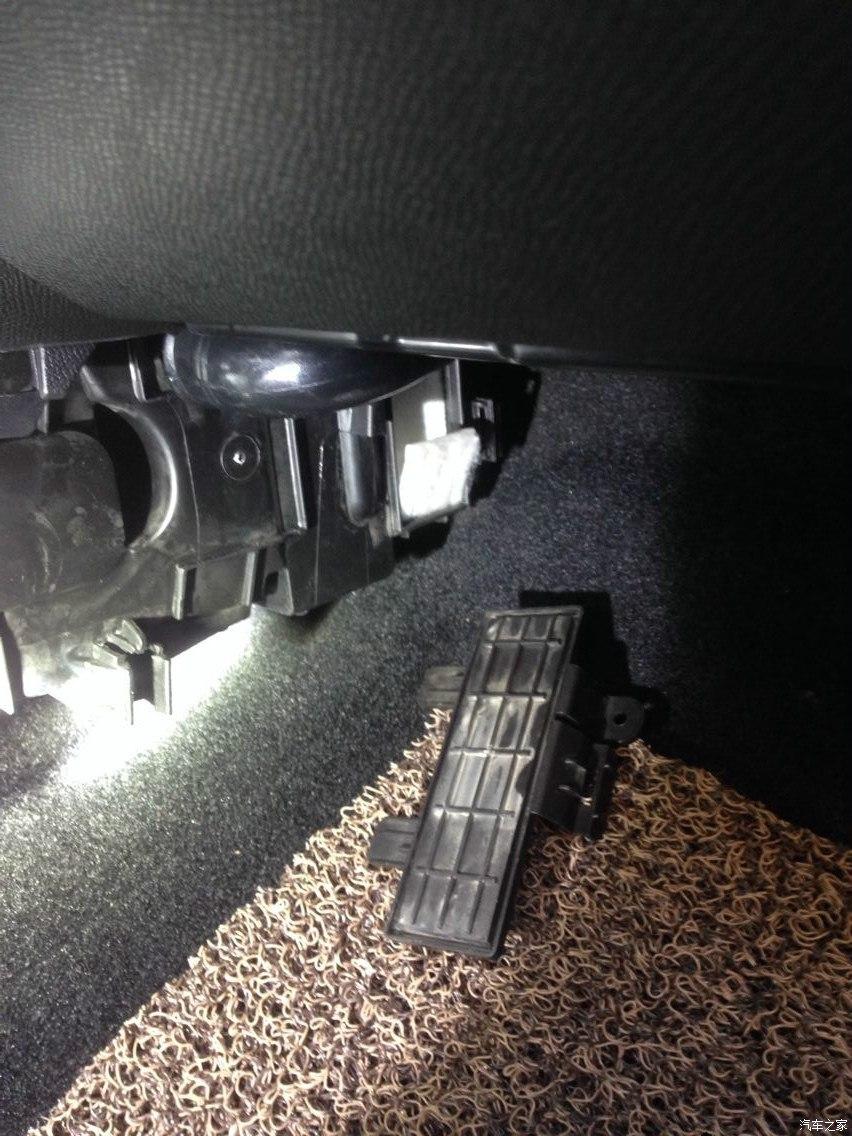
标致408空调滤芯怎么换?标致408更换空调滤芯流程(图文+视频)!

[attachment id=”22603″ position=”before”]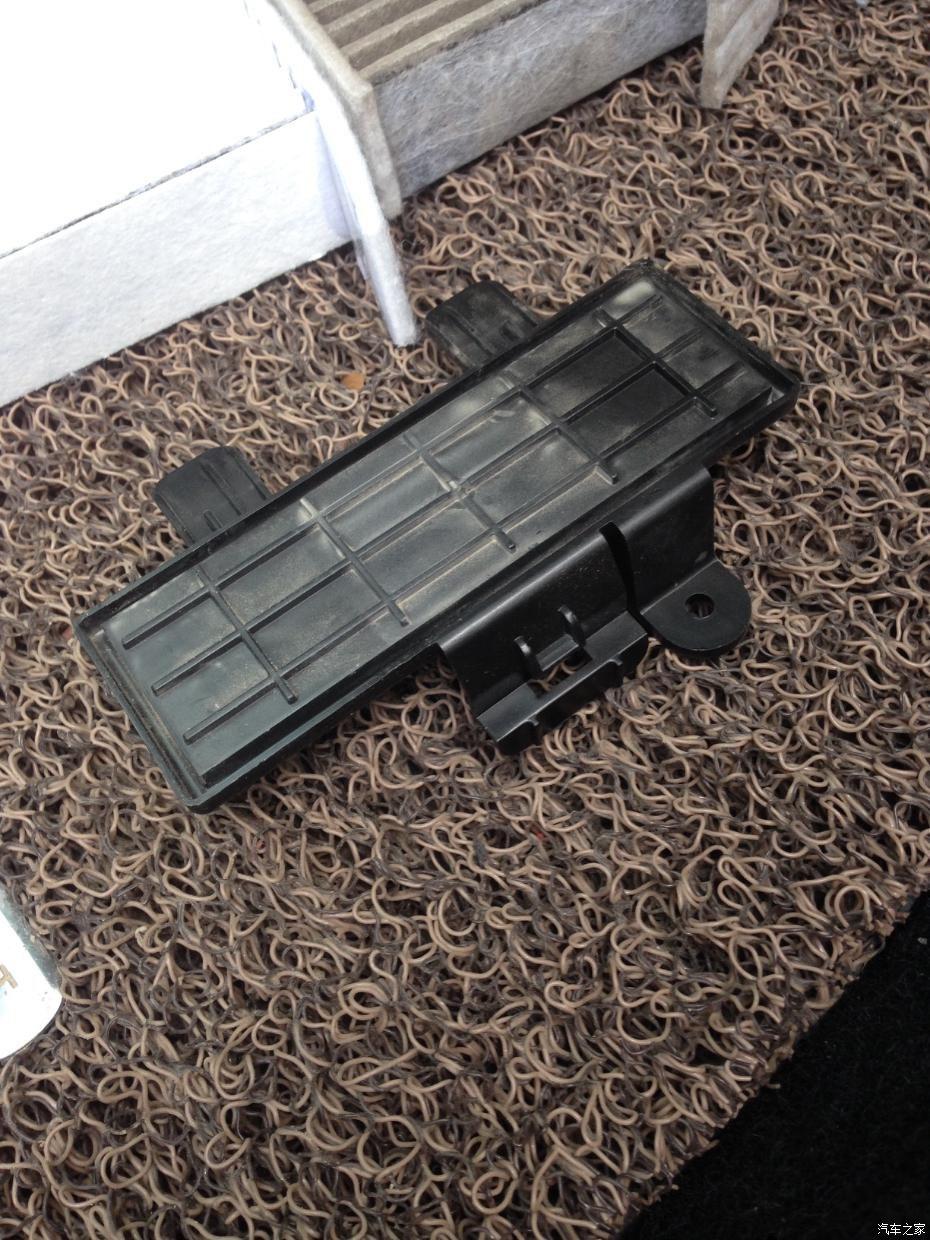
标致408空调滤芯怎么换?标致408更换空调滤芯流程(图文+视频)!

标致408空调滤芯安装结束后就此盖复原,用力要均匀,别用蛮力。
[attachment id=”22604″ position=”before”]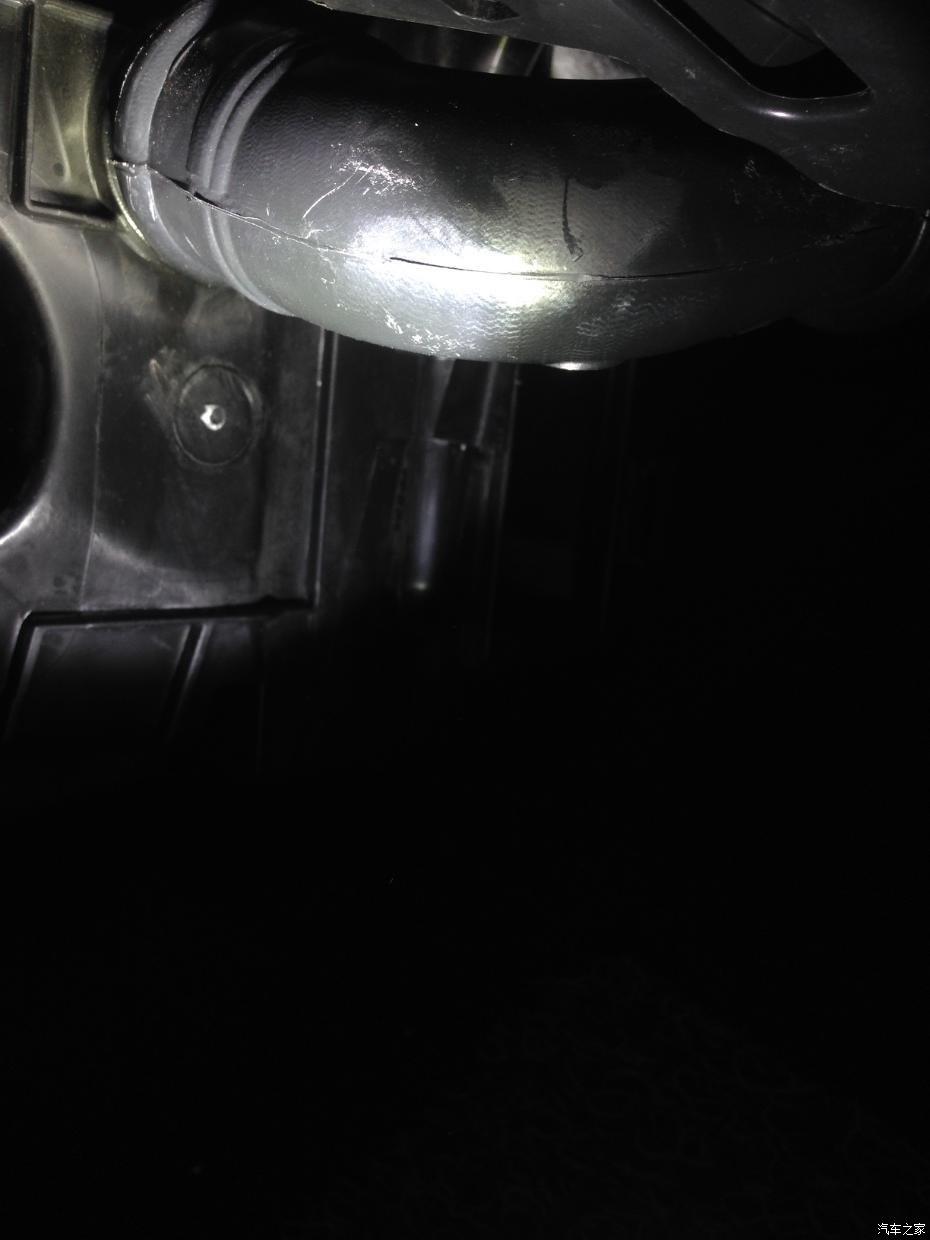
标致408空调滤芯怎么换?标致408更换空调滤芯流程(图文+视频)!

储物箱空调管复位,没有卡子的。
[attachment id=”22605″ position=”before”]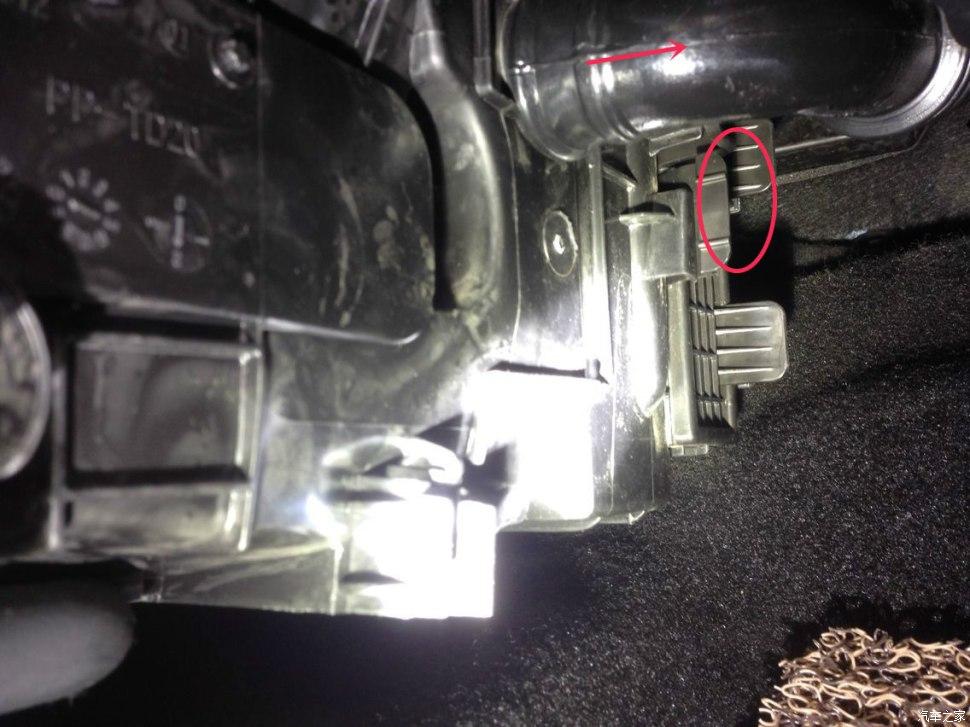
标致408空调滤芯怎么换?标致408更换空调滤芯流程(图文+视频)!

全部复位
[attachment id=”22593″ position=”before”]
标致408空调滤芯怎么换?标致408更换空调滤芯流程(图文+视频)!

直接卡上
[attachment id=”22592″ position=”before”]
标致408空调滤芯怎么换?标致408更换空调滤芯流程(图文+视频)!

[attachment id=”22591″ position=”before”]
标致408空调滤芯怎么换?标致408更换空调滤芯流程(图文+视频)!

[attachment id=”22606″ position=”before”]
标致408空调滤芯怎么换?标致408更换空调滤芯流程(图文+视频)!

[attachment id=”22607″ position=”before”]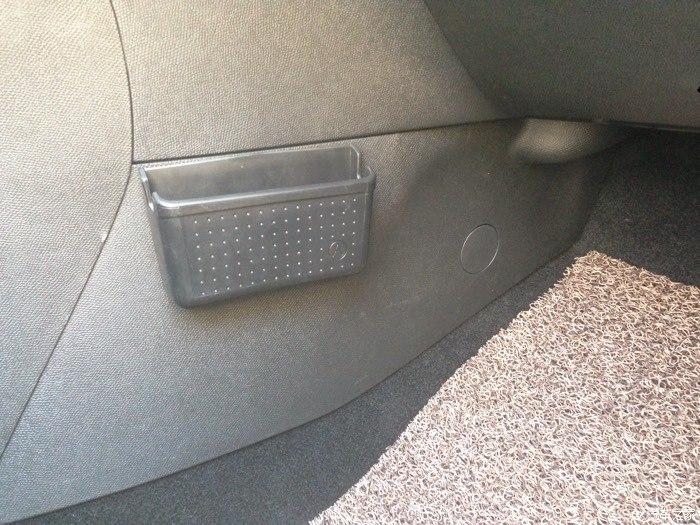
标致408空调滤芯怎么换?标致408更换空调滤芯流程(图文+视频)!

完工
